


Table of contents
🎗️Introduction:
🌟In this blog, we will explore how Terraform can be used to define and manage resources, specifically for EC2 instances, including the key pair, security groups, and configurations within AWS. Additionally,🚀 we'll delve into concepts like resource dependency, provisioners, and life cycle management.
🏷️Prerequisite:
Setup Terraform (Terraform Setup Link: terraform-installation-guide )
Familiar with HCL i.e. resource block, terraform block, varaibles (Terraform HCL Link: terraform-HCL)
✨AWS CLI Setup:
For provisioning resources in the AWS Cloud through infrastructure as code (Terraform), our initial step involves configuring and installing the 🌐 "awscli" 🔧 on our local system. This installation enables us to connect to our AWS account via the command-line interface.
🎗️AWS EC2 Terraform:
🛠️ With the "awscli" configuration completed successfully, it's time to set up the AWS provider for Terraform.
🔸AWS Provider:
📄 To set up the AWS provider, create a file named "provider.tf" and define it as follows:
# define aws provider in terraform block with version greater than 5

 terraform {
  required_providers {
    aws = {
      source  = "hashicorp/aws"
      version = "~> 5.0" }  }  }
🔹EC2 Keypairs:
✉️ Create an additional file called "keypairs.tf" and specify the public key for remote SSH access to your instance. Remember to generate key, public and private keys locally before proceeding.
# Command to create public & private keys in linux

ssh-keygen

# default location: /home/$USER/.ssh
# default name: id_rsa.pub(public key) and id_rsa(private key)
# Note: change the keypair name and location accordingly
🔐 Next, let's define this newly created key in Terraform within the "keypairs.tf" file.
# define a aws_key_pair resource with resource name (object name) my_key
# define the key_name "terra_key" which will goes to AWS EC2 instance

resource "aws_key_pair" "my_key" {
  key_name   = "terra_key"
  public_key = file("/home/$USER/.ssh/id_rsa.pub")

# define the path of public_key which created in previous step
🔸EC2 VPC & Security Groups:
🌐 For this project, we'll use the default VPC for networking and routing. To get started, create a file named "vpc.tf" and set up the default VPC resource block.
# intialze the default vpc
resource "aws_default_vpc" "default_vpc" {}
✨ Now, let's create security groups 🔒 for the EC2 instance, permitting access to SSH port 22 and HTTP port 80. To do this, create a fresh file named "ec2_sg.tf" and outline the code as follows:
# aws_security_group reource block
resource "aws_security_group" "terra_ssh" {
  name        = "Allow Ports"
  description = "Allow SSH & HTTP inbound traffic"

  # using default VPC
  vpc_id = aws_default_vpc.default_vpc.id

  # Allow rule for port 22 incoming traffice in instance
  ingress {
    description = "Remote SSH"
   # Allow incoming traffic from port
    from_port = 22
    to_port   = 22
    protocol  = "tcp"
  # Allow traffic from anywhere ipv4
    cidr_blocks = ["0.0.0.0/0"]
  }
  # Allow rule for port 80 incoming traffice in instance
  ingress {
    description = "HTTP Port"
    # Allow incoming traffic from port
    from_port = 80
    to_port   = 80
    protocol  = "tcp"
    # Allow traffic from anywhere ipv4
    cidr_blocks = ["0.0.0.0/0"]
  }
  # Allow rule for outbound traffic
  egress {
    from_port   = 0
    to_port     = 0
    protocol    = "all"
    cidr_blocks = ["0.0.0.0/0"]
  }
# tags
  tags = {
    Name = "terraform_allowed_ports"}  }
🔹EC2 Required Variables:
✍️ To proceed, let's create a 📦"variables.tf" file to specify our variables for the EC2 instance, like so:
# ami variable for Ubuntu OS
variable "ec2_ubuntu_ami" {
  description = "ubuntu_ami"
  default     = "ami-053b0d53c279acc90"
}

# ami variable for Amazon Linux OS
variable "ec2_amazon_linux_ami" {
  description = "amazaon_linux_ami"
  default     = "ami-04cb4ca688797756f"
}

# tags variables
variable "tags" {
  type = map(string)
  default = {
    "name" = "My-Terra_Instance"
  }
}
🔸Create EC2 Instance:
🚀 With all the essential files in place for EC2 provisioning, let's bring it all together in the main file named "main.tf" and initiate the creation of our first EC2 instance🛠️.
# Define the aws region, where resources will provision
provider "aws" {
  region = "us-east-1"
}

# Define aws_instance resource block
resource "aws_instance" "my-ec2" {
  ami             = var.ec2_ubuntu_ami # select ubuntu os
  key_name        = aws_key_pair.my_key.key_name # select keypair
  instance_type   = "t2.micro" # instance type i.e. CPU & RAM
  security_groups = [aws_security_group.terra_ssh.name] # select security group
  tags = {
    # Define the EC2 instance Name
    Name = var.tags.name
  }
   # Select EBS volume to 9 Gbps
  root_block_device {
    delete_on_termination = true
    volume_size           = 9
    volume_type           = "gp2"
  }
}
🔹Terraform Validate and Plan:
Intialize the terraform provider by this command "terraform init".
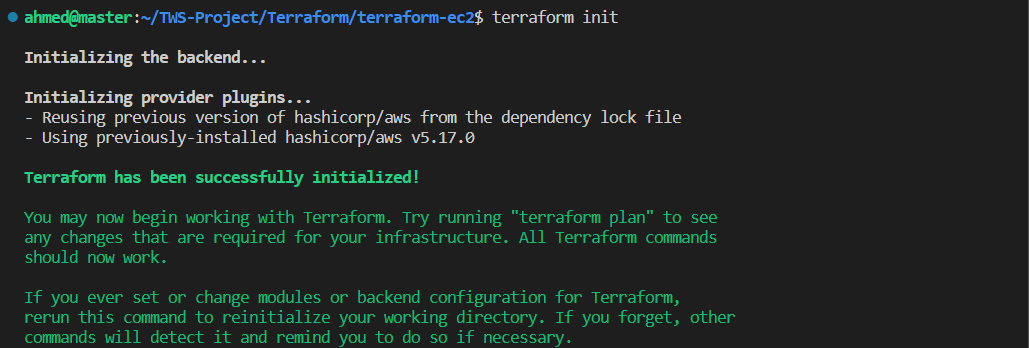
Now check the state file and validate our code to check errors

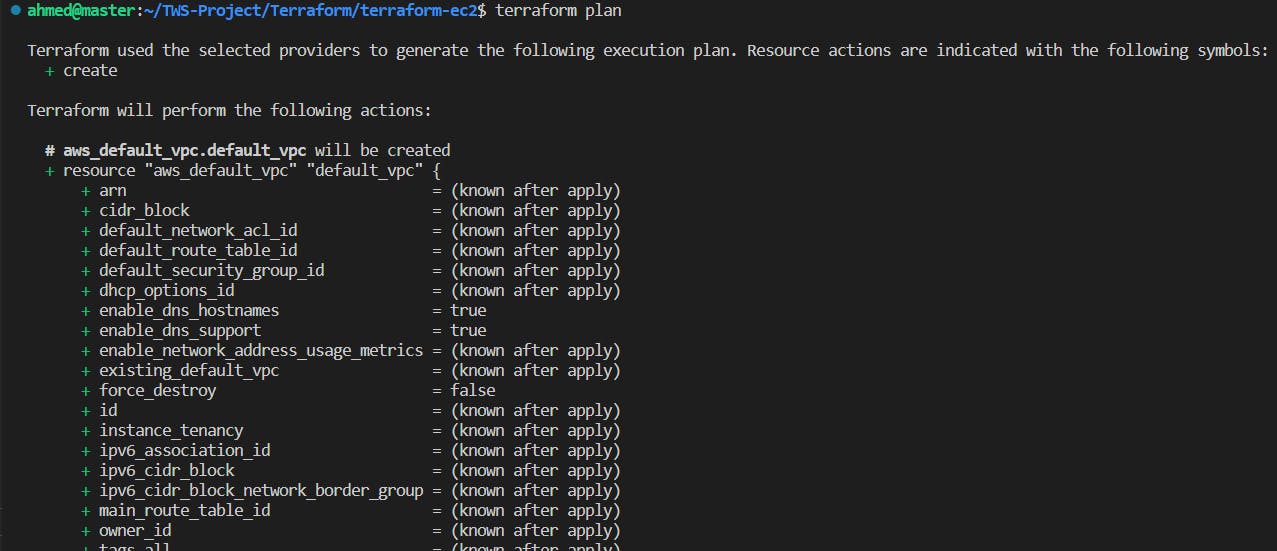
Since 🗄️Terraform hasn't created anything yet, our state file remains empty. To ensure the correctness of our Terraform files, use the "terraform validate" command. Now, let's apply the "terraform plan" command to examine which resources will be created and how many 📊.

🚀 Now, let's proceed with the resource provisioning by issuing the "terraform apply" command. Let Terraform work its magic! 💫🔨
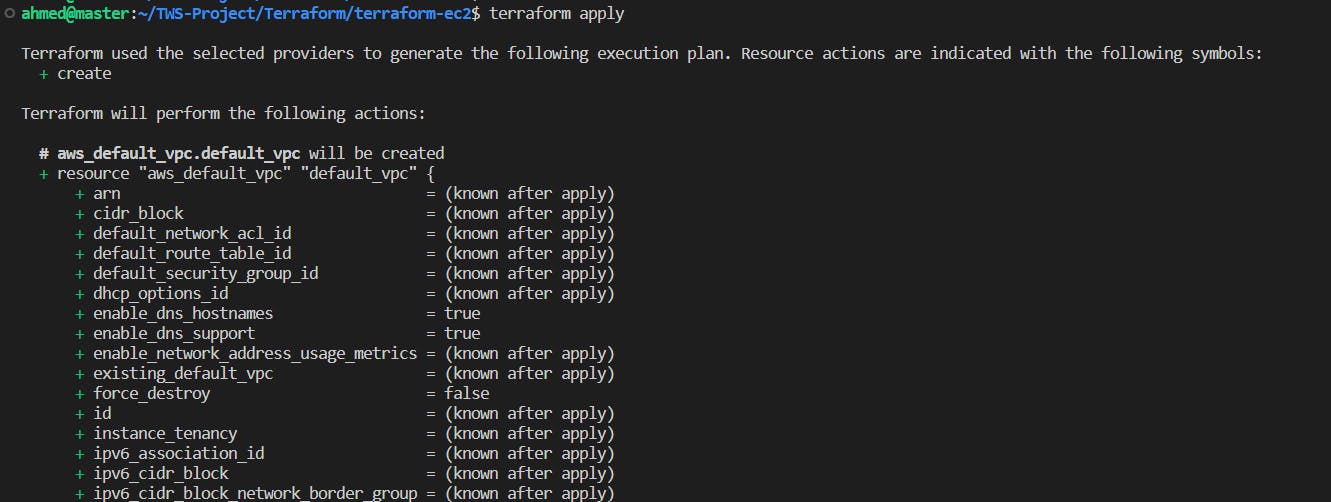

After running the "terraform apply" command, Terraform will prompt you to confirm the action. Type "yes" and press the Enter button to proceed. 📝👍
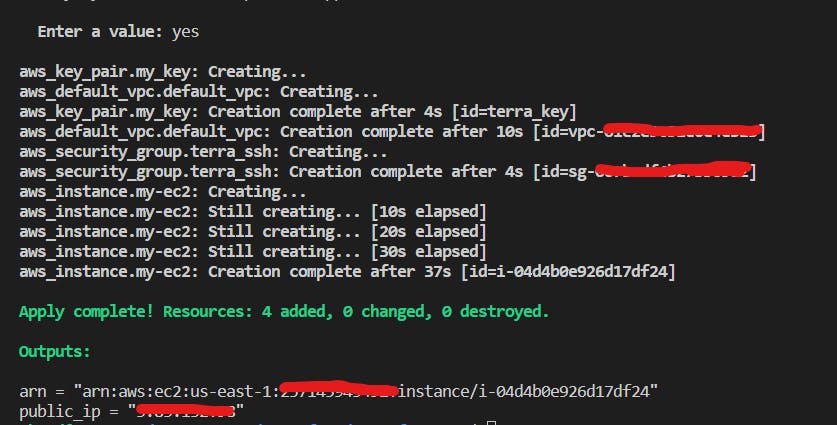
You 🧐 can double-check 🔍 your resources in the AWS console and then inspect the Terraform 📄state file.

These resources 🏗️ have been successfully created by Terraform, and you can review 👀 the details of each resource in the 📂 "terraform.tfstate" file.
🔸Terraform Resource Dependency:
Resource dependence 🔗🏗️ in Terraform allows you to describe relationships between resources and determine the order in which they should be created, updated, or removed. 🚀Terraform ensures that resources are provisioned in the correct sequence by defining dependencies and preventing errors and inconsistencies in your infrastructure. Terraform automatically 🧩determines resource dependencies depending on their configuration. You can, however, use the depends_on parameter to explicitly declare dependencies.
Example:
Let's consider an example 🤝🔗 where you want to attach extra volume to your instance. The EC2 instance should be created before the EBS volume, and volume attachment should be done after the EBS volume creation. Here's an example of how you can define resource dependencies in Terraform. Create a new file named "ebs-volume.tf" and use the below code for it.
# Creating a EBS Volume for the instance
resource "aws_ebs_volume" "my-ebs" {
  depends_on = [aws_instance.my-ec2]
  availability_zone = aws_instance.my-ec2.availability_zone
  size              = 5
  type              = "gp2"

  tags = {
  Name = "myebs-volume"
  }
}

# Attached this volume to the instance
resource "aws_volume_attachment" "myebs-attach" {
  depends_on = [aws_ebs_volume.my-ebs]
  device_name = "/dev/sdh"
  volume_id   = aws_ebs_volume.my-ebs.id
  instance_id = aws_instance.my-ec2.id
}
🔹 Terraform Provisioners:
In Terraform, 🛠️provisioners are used to execute scripts or perform actions on resources during resource creation or after resource modification. You can use provisioners to automate configuration management, launch custom scripts inside of your infrastructure, and bootstrap apps🚀. We'll discuss provisioners in Terraform with an example and a brief explanation in this section.
Example:
Let's consider a scenario 📦where you want to provision an AWS EC2 instance 💻and execute a shell script to update the system and install Nginx. Here's an example of how you can use provisioners in Terraform. open your previous "main.tf" file and add the provision code block after the aws_instance resource as below
# Initial null resource for nginx installation
resource "null_resource" "install_nginx" {
# trigger this block after EC2 instance
  triggers = {
    instance_id = aws_instance.my-ec2.id
  }
# provision block for nginx installation
   provisioner "remote-exec" {
   inline = [
     "sudo apt-get update -y",
     "sudo apt-get install nginx -y"
   ]
 }

# connection type detail for provision block
  connection {
   type        = "ssh"
   host        = aws_instance.my-ec2.public_ip
   user        = "ubuntu"
   private_key = file("/home/$USER/.ssh/id_rsa")
   timeout     = "4m"  }
   }
Note: Terraform provisioner block only works if resources are going to be created and if they are already created or exist it will not work. You have to destroy the resources and create them again.
🔸Terraform Lifecycle:
Lifecycle management in 🔄Terraform refers to the management of the various stages in the lifecycle of infrastructure resources🏗️ managed by Terraform. It involves defining how Terraform should handle the creation, update, and destruction of resources. Terraform provides several mechanisms for managing the lifecycle of resources, including resource lifecycles, dependency management, and provisioners.
Example:
Let's consider an example 📦of an EC2 instance 💻 to create a new instance before destroying the old one when some changes or updates have been applied by Terraform.
create_before_destroyis set totrue, which means that when an update is required, Terraform will create a new instance before destroying the old one, ensuring minimal downtime during updates.prevent_destroyis set tofalse, allowing Terraform to destroy the EC2 instance if it's removed from the configuration. You can set this totrueto prevent accidental destruction.
resource "aws_instance" "my-ec2" {
  ami             = var.ec2_ubuntu_ami # select ubuntu os
  key_name        = aws_key_pair.my_key.key_name # select keypair
  instance_type   = "t2.micro" # instance type i.e. CPU & RAM
  security_groups = [aws_security_group.terra_ssh.name] # select security group

  # Use the `lifecycle` block to customize resource behavior
  lifecycle {
    create_before_destroy = true  # Create a new instance before destroying the old one
    prevent_destroy       = false # Allow the instance to be destroyed
  }
  tags = {
    # Define the EC2 instance Name
    Name = var.tags.name
  }
   # Select EBS volume to 9 Gbps
  root_block_device {
    delete_on_termination = true
    volume_size           = 9
    volume_type           = "gp2"
  }
}
🎗️Conclusion:
📖 In this blog post, we've covered the fundamentals of resource management using Terraform. We explored setting up AWS EC2 instances, understanding the State file, and the validate command. We've also explored the resource interdependencies, provisioners, and lifecycle control. With this newfound expertise, you can now wield Terraform with confidence to streamline your cloud infrastructure management. 🚀